

It’s true, drum tuning can be quite daunting for a new drummer. It takes a number of years for most drummers to develop the required understanding and hearing skills in order to tune drums without help. Many drummers, even those with lots of professional experience, find drum tuning a challenge, and find it difficult to understand what changes in the setup or tuning will achieve the sound they are looking for. Don’t be ashamed of this, drums are one of the most challenging instruments to tune and perfect the sound of!
Breaking down the act of drum tuning there are four key steps:
- Tuning the pitch of each drum in the drum kit
- Equalising the drumheads to give a clear and smooth tone
- Relative tuning of the batter and resonant heads
- Controlling the decay and damping of the drumhead
There is really no need to overcomplicate things with tuning, especially once you understand the core concepts related to the four points above. To make sure you start off in the right direction, it’s also good to take care with seating the drumhead and ensuring the kit is ready to be tuned.
Before tuning starts
Before you can even start tuning, you need to be sure that all your drumheads are correctly positioned and ready to tune. This is a pretty simple task, but can make a difference if done well. With all the tuning rods removed, place the drumhead on the drum shell, place the hoop over the edge of the drumhead and drop a tuning rod into each tuning lug. Be careful to ensure that the drumhead sits flat and evenly on the bearing edges of the drum shell. Now with just your fingers only, tighten each tuning rod until you cannot tighten it any more. It’s often best to tighten two positions opposite each other at the same time. Once you have tightened the rods by hand and can tighten them no more with your fingers, you can now be sure that you have a fairly even tension applied to the drumhead at each lug position. You can use the same approach for both the batter and resonant drumheads.
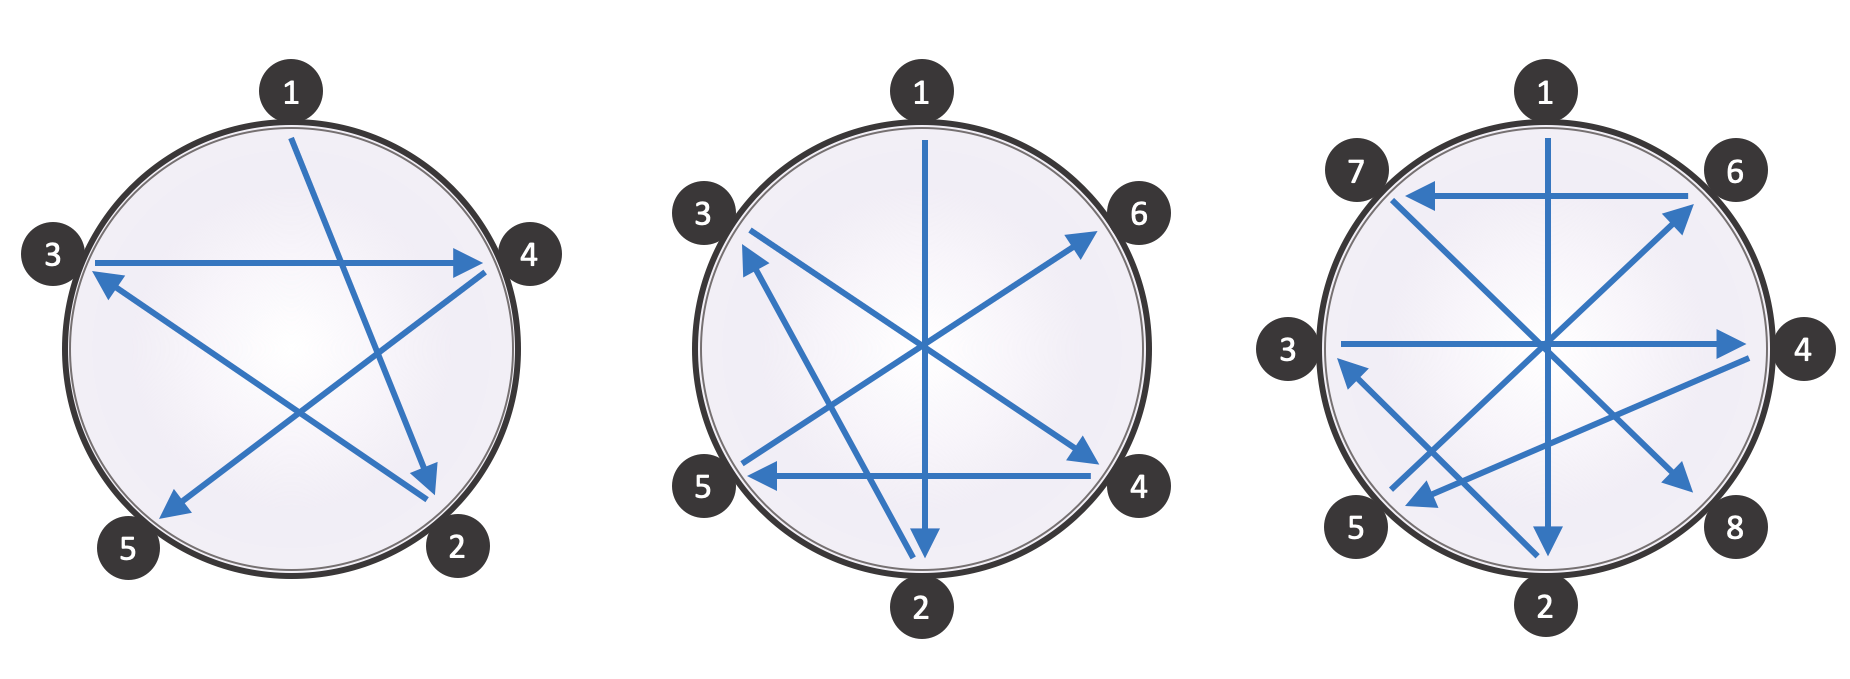
Now, with the rods just finger tight the drumheads will usually still be too slack to vibrate properly (you will, no doubt, see some wrinkles in the drumhead), so you need to tighten each tuning rod a little more before you can get the first reasonable sound from the drum. With a drum key, give each tuning rod a quarter turn of the key. Do this quarter or half turn on both the batter and resonant sides of the drum. Don’t go around the drum, jump opposite in a star-form every time to ensure that all sides of the drum are kept to a similar tension at all times.
1. Tuning the pitch of each drum in the drum kit
You’re now ready to tune the pitch of the drums in your kit! Pitch is an easy concept to understand. When you hit the drum in the centre you hear a sound of the entire drumhead vibrating (and the resonant drumhead vibrating too). If you increase the tension in either drumhead, the pitch of the drum goes up. Loosen the tension on either drumhead and the pitch of the drum goes down. All you have to do is decide what pitch you want each drum in your kit to be at. We can measure and describe pitch either as musical notes (i.e. with reference to specific piano keys) or by the frequency of the drumhead vibration. Every drummer has their own preference to what pitch they like the different drums in their kit to be; jazz drummers tend to tune to relatively high pitch, whereas rock drummers generally tune relatively low, but there are no specific rules to follow. By a fact of physics, larger diameter drums allow lower pitches, whereas small diameter drums allow higher pitches. Equally, heavier drumheads support low pitches, whereas thinner drumheads can be tuned to higher pitches. So your kit and drumhead choice can have an influence here too. Here’s a diagram with some suggested tuning ranges for each drum, and a chart that shows how frequency and musical notes are related. The iDrumTune Pro app is ideal to help you find the right pitch for each of your drums, and can be used to keep a record of your preferred pitch frequencies for future reference.

2. Equalising the drumheads to give a clear and smooth tone
Equalising the drumhead is sometimes also called lug tuning or clearing the drumhead. This basically means ensuring that the drumhead vibrates at the same frequency at all positions around the edge of the drumhead. You’ll notice that if you hit the drum head at the edge, a higher frequency overtone is heard more prominently than if you hit the drum at the centre. We can use this higher frequency sound to check that the drumhead has the same vibration profile at all points around the drum. If the vibration is not equal on the drumhead, then it will cause clashes and interactions that result in a warbling or pulsing type of sound when the drumhead is hit. An equal drumhead has a very clear and precise tone that decays away very smoothly. To equalise the drumhead, you need to check that each point around the edge sounds the same, and then make slight adjustments with the tuning key to make it more even. The iDrumTune Pro app has a great Lug Tuning feature for assisting with this, by listening to each edge hit and giving you an indication of which tuning rods need loosening and which need tightening.
3. Relative tuning of the batter and resonant heads
The resonant drumhead is a matter of mystery to many drummers, but it’s possible to be quite simple with how you tune it. The most important thing is, as above, to seat the head correctly, to ensure that the drumhead is vibrating evenly and to use the resonant head to also set the pitch of the drum in unison with the batter head. You’ll notice that tightening either drumhead takes the drum’s overall sound up in pitch. So when you want to take the drum’s overall sound higher or lower, you can achieve this by either adjusting the batter or resonant drumhead. So it’s possible to tune the overall pitch of the drum that you want with any of the following setups:
- High tuned batter head and a low tuned resonant head
- Low tuned batter head and high tuned resonant head
- Batter and resonant head tuned about the same
Some drummers prefer one of the above scenarios, and some drummers prefer a different approach. There is not set rule here, but it is worth trying all three approaches. We suggest that as a starting point you apply the same tuning actions to both drumheads. If you have a thinner resonant head (which is fairly common for may drummers) then your resonant head will give a slightly higher edge frequency than the batter head. This is a good starting point and once you have the hang of it, you can experiment with taking one of the drumheads much higher or lower in comparison to the other, and see if you like the sound. With the iDrumTune Pro app, you can test a number of different resonant head setups, in order to achieve a full sounding drum, at the overall pitch you like, and with a strong, rich tone.
Note that it’s really not possible to tune the batter head separately to the resonant head, or vice-versa – the two drumheads work together to create the overall sound of the drum. So you can’t dampen one head and then tune the other, or you’ll stop the drum working as a complete instrument and, during tuning, it will sound completely different to how it will sound when positioned on your drumkit!
4. Controlling the decay and damping of the drumhead
Once you have the drums at the right pitch, with a sensible resonant head relationship and all heads vibrating evenly, all you really need to do is think about the decay of your drums and decide if you would like a tighter and more damped sound. In general, decay times of the drums are best controlled by choosing the right drumheads for your preferred musical genre or drum sound. Many drumheads have advanced damping and overtone control systems built into their construction, meaning that, if you have the right drumheads on your kit, you really should have no need to use any additional form of damping added to the drumheads. Whilst this is very true, it is also the case that sometimes you just don’t have the opportunity to change drumheads in order to resolve a decay issue. Maybe you are playing for a different band as a one-off favour, or playing a venue’s house kit which is not to your taste, or maybe the venue has a big boomy space that causes your drums to ring out for an eternity. In this case, you might want to consider using o-rings to dampen the edge of the drumhead and reduce the strength of the head’s overtones, or you can instead use an old drumhead skin with a hole cut in the middle! O-rings are great because they dampen the entire edge of the drumhead evenly, and don’t undo all the good work you did with equalising your drumheads. Different thickness and different weight o-rings allow varying amounts of damping to be applied, so you can quickly and easily achieve the sound you are aiming for.
That’s it!
Drum tuning really can be simple and fun! All you need is to take a little time to understand the way drumheads work and create sound, and then put that knowledge into action and observe the results of what changes you make. If you do this in a thoughtful manner, you’ll become a drum tuning pro in no time at all!
Check out our drum tuning apps below and become a Drum Tuning Pro:


If you want to know more about the underlying science of drumheads and drum sound, and learn more creative approaches to drum tuning, check out the free iDrumTune ‘Drum Sound and Drum Tuning’ course at www.idrumtune.com/learn
Hi,
Wondered if you would clear something up for me. I’m a beginner (playing less than a year) and recently got my first acoustic kit. Your app has been invaluable with helping me navigate the drum tuning world. I just ordered your book as well. My main instrument is guitar so I’m not used to such complexity.
So, following your instructions I finger tightened all the lugs (top and bottom) on my 10″ tom. I placed the tom on my practice pad and got busy bringing the pitch to where I wanted and got lug tensions consistent. Was shooting for a D. I got it sounding good and then took it off the practice pad and hit it again while holding it suspended from the mount. Well, you can guess the result….pitch went way down. wth?? I learned the hard way that both heads work in concert to produce the pitch. So my question is this….should I tune while the drums are mounted? If not, what would I place the drum on that would allow the bottom head to vibrate. DW sells a lazy susan type device but they advertise that ‘carpeted surface mutes opposite-side heads for reliable intonation’. How is this a good thing, when both heads need to work together? I ended up putting the toms between my knees but that’s a little difficult and rather impossible with the floor tom.
Thanks for your help.
Andrew Dykeman
HI Andrew – thanks this is a great question! It’s actually better to learn by listening, so you don’t have to just take our word for it! Yes, damping one head makes the drum a much simpler ‘system’ to consider, but really this is just avoiding the truth that you need both heads vibrating together in order to assess the sound of the drum in a realistic sense. As a result, it will always sound different when you undamp the other head – it’s a nice idea, but just doesn’t work from a scientific or musical perspective. We have a simple solution though, use a snare stand for tuning all your drums. We always keep an old one by the side of the kit especially for tuning – it makes it quick and easy to put a tom on, spin the drum around, easy to flip it over and allows both heads to vibrate properly as they do on the kit too, so the sound you tune will be the same sound you hear when you play. Hope that helps, happy tuning!
Great idea! Thanks for the quick response.
Quick follow-up, if I may. When initially zeroing in on the fundamental do I slowly increase tension on both the batter and resonant heads?
Thanks again,
Andrew
Hi Andrew, yes, it makes sense if you’re tuning up to tune the batter tighter, take a reading, then tune the resonant head up, take a reading, and keep alternating until you get to the desired pitch – this way you can be sure that both heads are within their sweetest tuning range for the result you are looking for. You can then experiment with making one tight and the other slack and looking at different RTF values if you like, but on the whole treating them both the same usually works very well. (There’s a bit more detail on this in the book too!)
Thanks!
Looking forward to digging into the book.